Reviewed by the HyaluFlow Health Editorial Team | Published: June 17, 2026 | Last Updated: August 23, 2026
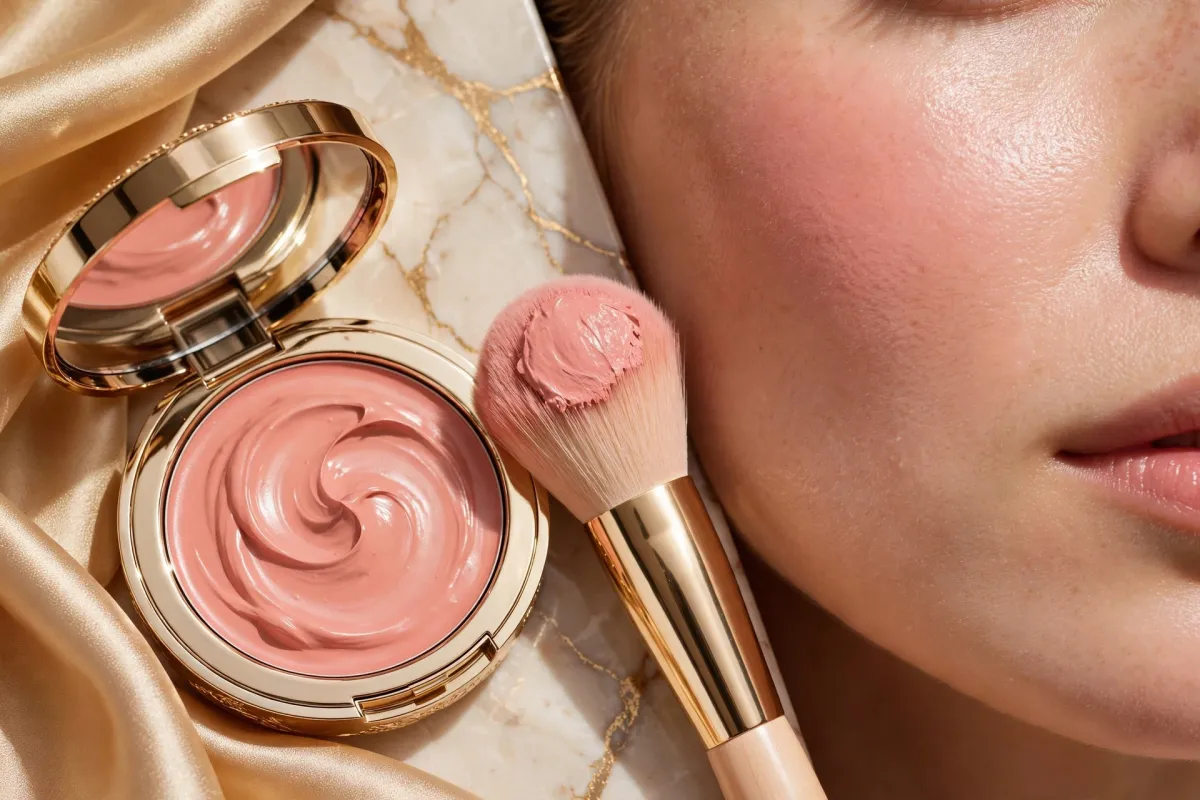
Cream blush can create a fresh, natural-looking flush without making the skin appear heavily powdered. The key is using a small amount, placing it strategically, and blending the edges without disturbing your base makeup.
For the most natural cream blush application, use a small amount on the cheeks and blend outward and slightly upward. Apply it over a well-prepared base, build coverage gradually, and use clean fingers, a brush, or a damp makeup sponge depending on your preferred finish.
- Start with a small amount of cream blush and build gradually.
- Place blush according to the look you want rather than following one universal placement rule.
- Tap and blend instead of aggressively rubbing the product across the skin.
- Allow skincare and complexion products to settle before layering cream blush.
- Choose non-comedogenic makeup if you have acne-prone skin.
- Clean makeup tools regularly and never share makeup or applicators.
1. Why Cream Blush Works So Well
Cream blushes contain pigments in a cream or emollient-based formula that can create a softer, more skin-like finish than some powder formulas. Their texture also makes them useful for controlled, buildable application.
The right formula depends on your skin type, complexion products, and desired finish. A lightweight cream may suit oily skin better, while a richer formula can complement dry-looking skin.
2. Prepare Your Skin First
Start with clean, moisturized skin and allow skincare products to settle before applying makeup. If you use sunscreen, apply it as the final skincare step and allow it to set according to the product directions.
Preparation matters because excessive rubbing or repeated layering can disturb products underneath. Keeping application gentle can also help reduce irritation.
American Academy of Dermatology: Skin Care for Dry Skin
3. Where Should You Apply Cream Blush?
For a lifted-looking effect, place a small amount on the upper part of the cheeks and blend toward the temples. For a softer, more youthful-looking flush, place the color slightly closer to the center of the cheeks.
There is no medically correct blush placement. Facial structure, personal preference, makeup style, and the intensity of the product all influence the final appearance.
4. How to Apply Cream Blush Step by Step
- Step 1: Pick up a small amount with clean fingers, a brush, or sponge.
- Step 2: Tap the product onto the cheek rather than applying a large stripe.
- Step 3: Blend the edges outward using light tapping or short sweeping motions.
- Step 4: Add another thin layer if more color is needed.
- Step 5: Check both sides in natural or even lighting and soften any visible edges.
Building thin layers gives you more control than applying too much product at once. It also makes it easier to correct uneven placement without removing your entire makeup base.
5. Fingers, Brush, or Sponge?
Your application tool changes the way cream blush looks. Fingers can create a warm, seamless finish, while a dense brush can provide more controlled pigment and a makeup sponge can soften edges.
If you use your fingers, wash your hands first. For brushes and sponges, regular cleaning is important because contaminated tools can contribute to breakouts, irritation, or infection.
American Academy of Dermatology: When to Toss Your Makeup and Sunscreen
6. How to Make Cream Blush Last Longer
Long-lasting blush starts with compatible layers. Apply thin amounts of skincare, sunscreen, foundation, and blush rather than heavily layering products.
If your cream blush tends to fade quickly, a small amount of compatible powder blush can be used over it for additional color and longevity. Avoid excessive powder if you want to preserve a dewy finish.
7. Cream Blush and Acne-Prone Skin
Makeup can be part of an acne-friendly routine when the products are appropriate for your skin. If you are prone to breakouts, look for labels such as “non-comedogenic,” “oil-free,” or “won’t clog pores.”
Remove makeup before sleeping and avoid repeatedly rubbing or scrubbing blemish-prone skin. The American Academy of Dermatology specifically recommends non-comedogenic makeup for people concerned about acne.
American Academy of Dermatology: 10 Skin Care Habits That Can Worsen Acne
8. Common Cream Blush Mistakes
- Using too much: Excess pigment can make blending difficult.
- Rubbing aggressively: Heavy rubbing can disturb foundation and irritate sensitive skin.
- Ignoring texture: A formula that does not work with your foundation can separate or become patchy.
- Using dirty tools: Unclean brushes and sponges can transfer oil, bacteria, and other contaminants.
- Sleeping in makeup: Leaving makeup on overnight can contribute to clogged pores and irritation.
9. Evidence Strength Summary
- Strong practical guidance: Clean makeup tools and avoid sharing cosmetics or applicators.
- Strong dermatology guidance: Non-comedogenic makeup is preferable for acne-prone skin.
- Established cosmetic principle: Thin, controlled layers generally provide greater control than applying excessive pigment at once.
- Personal preference: Blush placement and application tools depend on the desired makeup effect.
- Not established: Claims that one specific blush placement is universally best for every face shape.
Bottom Line
The easiest way to apply cream blush naturally is to start small, place the color intentionally, and blend gently. Thin layers give you control and help prevent a heavy or patchy finish.
For healthier makeup habits, keep your hands and tools clean, remove makeup before bed, and choose non-comedogenic products if you are prone to breakouts. The best cream blush routine is one that looks natural and works comfortably with your skin.